Record a formal, periodic safety inspection of a project site — work through a standard safety checklist, note what you found, and attach photos as evidence.
Who can use it — Site Inspections is a management-level record, not a day-to-day site form. You need "view site inspections" permission to see the list, and "manage site inspections" permission to create, edit, or delete one. By default that's the Management and Admin roles — Supervisors and general site users don't get it automatically unless your workspace has added the permission to a custom role. See Roles & Permissions for how access is set.
Where to find it — open the job in Projects, then its Compliance tab, and scroll to Site Inspections. Site Inspections has no sidebar item of its own.
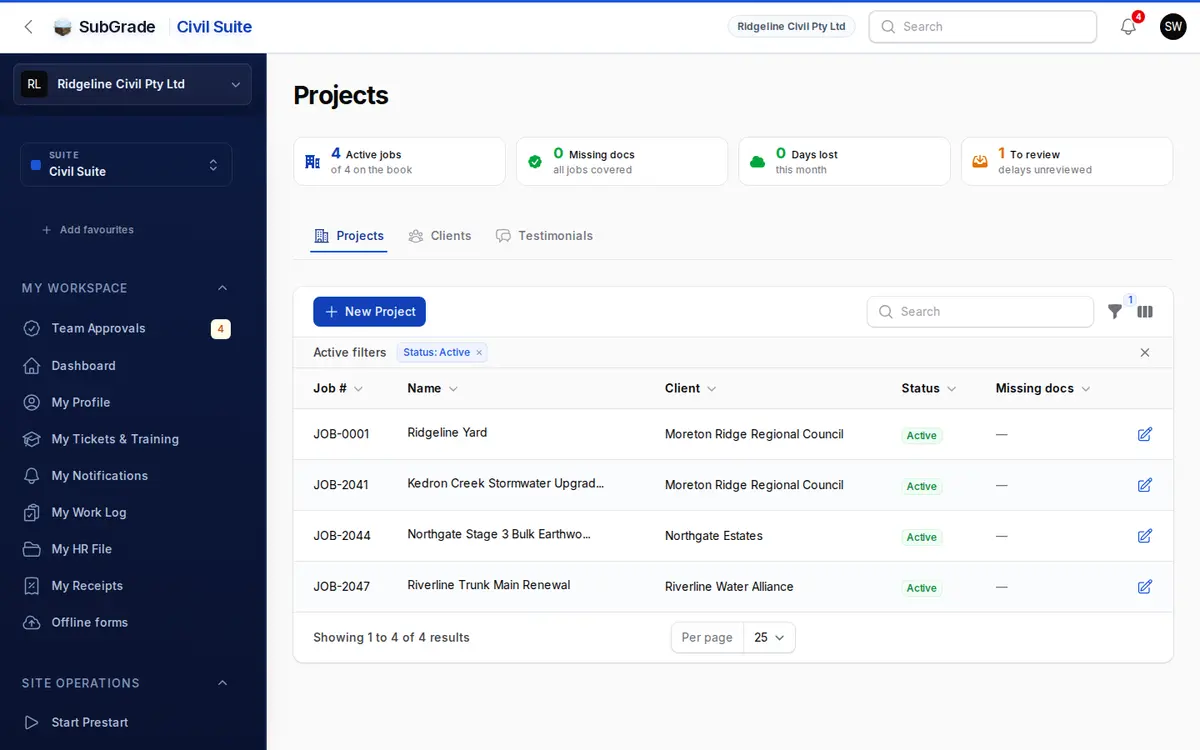
Before you start — one thing worth knowing: the checklist you fill in is fixed. Every workspace uses the same standard inspection checklist (built and maintained centrally, not something you edit from Checklist Templates in this workspace — that page manages the checklists you do control, like prestarts, inductions, and toolbox talks).
How to fill one out
Log inspection opens a side panel over the job. It is a three-step wizard — Inspection details, Safety checklist, Site photos — and each step must be completed before you can move to the next.
- Inspection details.
- The project is already set, because you started from the job.
- Optionally choose an Area of site — a specific area from the project's location list — or leave it to cover the whole site (shown as Whole job).
- Optionally select the Team leader on site — the crew leader who was present at the time.
- Set the Date & time of inspection — defaults to now; it can be backdated, but not set more than a day into the future.
- Add any Notes — what work was under way and anything worth recording, up to 5,000 characters.
- Safety checklist. Answer every item Yes, No, or N/A — every question is required before you can continue. The standard checklist covers 18 points, including work-area isolation, inductions/sign-in, SWMS and permits on hand, PPE, machine guarding, ladder condition, tested electrical equipment, fire-fighting and first aid gear, emergency procedures, machinery condition, and site reinstatement/rubbish removal.
- Site photos. Attach up to 20 photos (JPEG, PNG, HEIC or WEBP; 10 MB each) as evidence, and reorder them if needed.
Submit appears on the last step, once all three are answered.
Findings and follow-up
Site Inspections doesn't have a separate pass/fail flag or a corrective-action field — how you record and chase up a problem is:
- Any item answered "No" counts toward the record's Failures badge, shown on the list and on the inspection itself (red if there's at least one, green if clear) — your at-a-glance signal that something needs attention.
- Use Notes to describe what was found and what's being done about it, and the Site photos step to attach supporting evidence.
- An inspection doesn't automatically raise anything else. If a finding is serious enough to need formal tracking, log it separately as an Incident — and if it points to a breach of a documented procedure, check Company Policies for the relevant one.
Staying on top of overdue inspections
- A daily check looks at every project with Active status. If its last inspection is more than 180 days old, or it has never had one, a Site Inspection Overdue notification goes out, and repeats no more than once a week per job.
- Who receives it is set under Overdue Site Inspection Alerts in Notification Manager.
- The Overdue (≥6 months) filter shows inspection records more than six months old. It does not check whether a newer inspection exists on that job, so read the dates.
Reviewing and managing records
- Filter the job's list by an Inspected from / until date range or the Overdue toggle.
- View opens the full record — details, the answered checklist, and photos. Edit opens the same steps in a side panel so a manager can correct a record after the fact; you can jump straight to any step.
- Deleted inspections move to the Deleted records filter rather than disappearing outright. From there they can be restored or permanently deleted. Permanently deleting one also removes its photos.
Connected pages
- Projects — inspections are logged from a job's Compliance tab.
- Incidents — where a serious finding from an inspection should be formally logged and tracked.
- Company Policies — the documented procedures an inspection is checking compliance against.
- Checklist Templates — manages the checklists you do control (prestarts, inductions, toolbox talks); the site inspection checklist itself is fixed and workspace-wide.
Tips & common mistakes
- Can't find Site Inspections? It isn't in the sidebar. Open the job and go to Compliance. If it isn't there, ask an admin for "view site inspections" (or "manage site inspections" to create and edit).
- The checklist only records Yes/No/N/A — anything you want followed up needs to go in Notes, with a photo if you have one. Don't assume a "No" answer alone is enough of a trail.
- Serious finding? Don't leave it sitting in the notes — raise a proper Incident so it gets tracked and actioned, rather than relying on someone rereading this record later.
- Six months creeps up fast — check the date of the last inspection on jobs you're responsible for, before the automatic notification beats you to it.