Keep a record of everyone applying for work, move them through your hiring stages, log reference-check conversations, and turn a successful applicant into an employee account without re-typing anything.
Who can use it — Everything on this page needs "manage team" permission. If you can't see Candidates in the sidebar, you don't hold it. See Roles & Permissions for how access is set.
Where to find it — Workforce & HR → Candidates in the sidebar.
How to use it
The list shows each candidate's Name, Email, Role, Status, a References count, Hired as (once converted) and when they were last Updated. Use the Status filter to narrow the list to one stage.
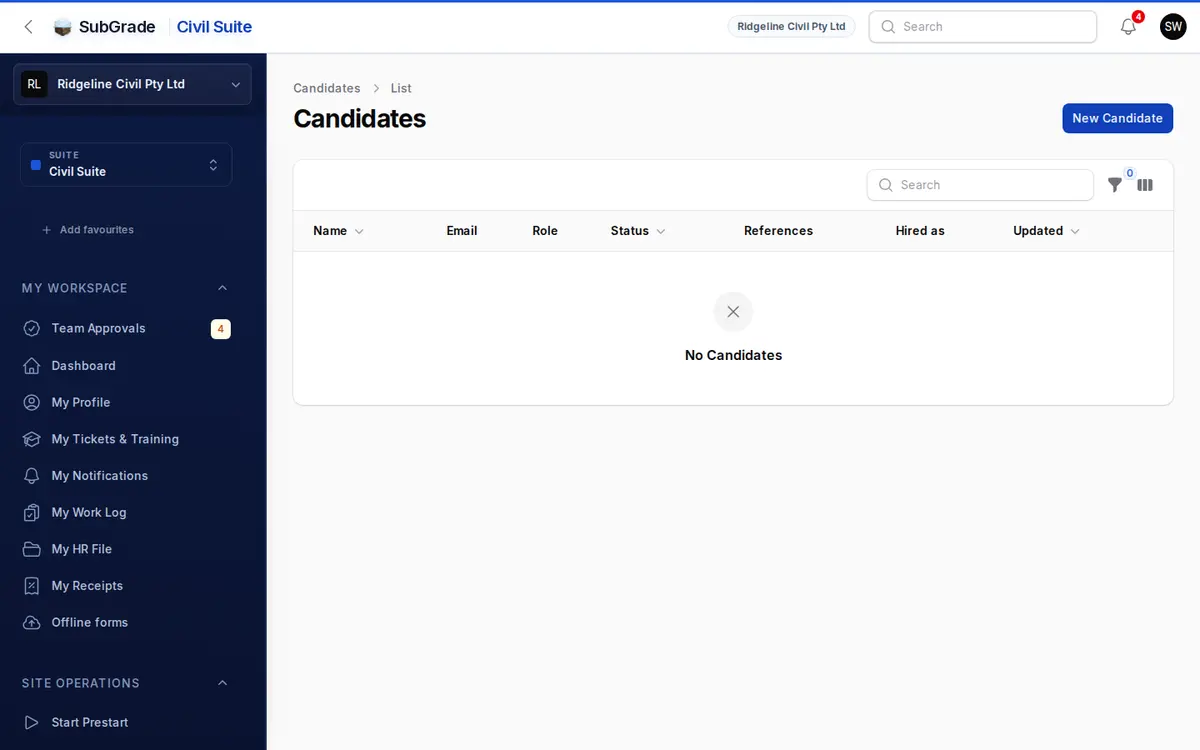
Adding a candidate — click New Candidate and fill in:
- Name (required).
- Email.
- Phone.
- Role applied for — chosen from your workspace's job roles.
- Status — defaults to Screening.
There's no resume upload or source field on the candidate. Supporting documents go on the reference checks.
Hiring stages
A candidate has one of seven statuses: Screening, Interviewing, Reference Check, Offered, Hired, Rejected or Withdrawn. Open a candidate and use Edit to pick a new status at any time.
Hired is locked. You can't select it yourself. It's set when you run Convert to employee. Rejected and Withdrawn are for applicants who don't proceed.
Reference checks
Open a candidate and use Add reference check. Each entry captures:
- Referee name (required), Company / organisation, Relationship (for example, "Former site supervisor") and Contact (phone or email).
- Date contacted, which can't be in the future.
- Outcome — Positive, Mixed or Negative.
- Notes from the conversation (required).
- Attachments — up to 5 files (PDF, Word, JPG, PNG or text), 10 MB each.
The table shows each check with its date, referee, outcome, a preview of the notes, the file count and who recorded it.
Converting a candidate to an employee
When a candidate is a confirmed hire, open their record and click Convert to employee. This can only be done once.
The form starts with:
- Name, Email and Phone — from the candidate record. You can change them. Name and email are required.
- Access role — defaults to Employee. If you can't update roles, it stays as Employee and someone who can may change it later.
- Ask them to check their details when they first sign in — on by default. They confirm their contact details, and do the company induction if your workspace has one, before they can use SubGrade.
- Send access link now — off by default, so you can send it from their profile when you're ready.
When you click Convert, SubGrade:
- Adds the new employee to your workspace.
- Copies every reference check into the Management notes on the HR tab of their profile, citing the referee and date, with attachments.
- Sets the candidate to Hired and records who converted them and when, in a Conversion panel on the candidate's page.
- Takes you to their profile.
Conversion stops with a message if the email is already in this workspace, belongs to a former member (reactivate them instead), or belongs to someone with their own SubGrade account (they have to accept a request to join, from Team).
Connected pages
- People — the Team page and employee profiles. Conversion adds people the same way Add person does.
- User Onboarding — what the first sign-in check and access link do for the new employee.
- Roles & Permissions — how "manage team" permission is granted.
Tips & common mistakes
- Can't find Candidates in the sidebar? You need "manage team" permission, the same one that opens the Team Directory.
- Can't pick Hired? That's expected. Hired is only set by Convert to employee.
- Convert to employee button missing? You don't have "manage team", or the candidate has already been converted. Check the Conversion panel.
- Employee can't sign in after conversion? The access link is off by default. Send it from their profile.
- Want reference checks on the employee file? Log them before converting. Anything added afterwards isn't copied across.